Home » Appliances » Stoves » Wood Burning Stoves » Advice & Maintenance for your wood burning stove » How to light your wood burning stove
This page will provide you with a step-by-step guide on how to light your wood burning stove using the “Top Down Method” for more information on this technique, see our blog. You can use this page in conjunction with our how to light a wood burning stove video which you will find above and in our Stovax.tv website.
Please note that all stove models may differ. If in doubt, check your Instruction manual or speak to your local Stovax retailer.
Lighting your stove
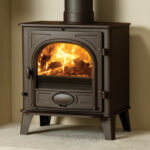
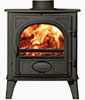
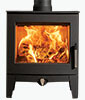
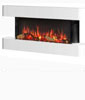
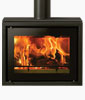
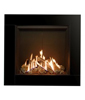
- Open the Air Controls fully to ensure the fire gets the air supply it needs to establish properly. There is an indicator at the top of many appliances like our Stockton 5, View 5 stoves or the Yeoman CL5, to show which direction to move the control from closed to open. On models like the Sheraton, Vision and Vogue stoves, the single control is below the the door. Instruction manuals for yours and other products are available to download from our Stovax technical section. You will find that many appliances also have a secondary air control to provide a cleaner burn and give greater thermal efficiency and most have this control factory set.
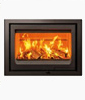
- Choose some small to mid-sized seasoned logs. Always use good quality Ready To Burn wood with a low moisture content. Place the medium sized logs on the grate (multi-fuel version) or firebed (wood burning versions), with enough space between them for air to circulate.
- Now place some smaller logs across the larger ones below. This will start to create the fuel stack in your stove, which when ignited from the top down will create the draw the needed to get going.
- Place an Eco firelighter in the centre of your stack. This will help the larger logs ignite when the fire burns down to them.
- On top of your logs, stack kindling in a similar fashion, crisscrossing each layer. You will need around 6 to 8 pieces of kindling for a standard stove, but if your stove has a tall firebox a few more layers can be added. Place another Eco firelighter on top of your kindling stack.
- To create the best possible conditions for the for the fire to burn, ignite the firelighter on top of the kindling and then close the stove door. Ensure your stove’s air controls are fully open to allow as much combustion air to reach the flames as as possible.
- Wait for the logs to ignite and once they are burning well, set your stove’s air controls to normal running mode.